


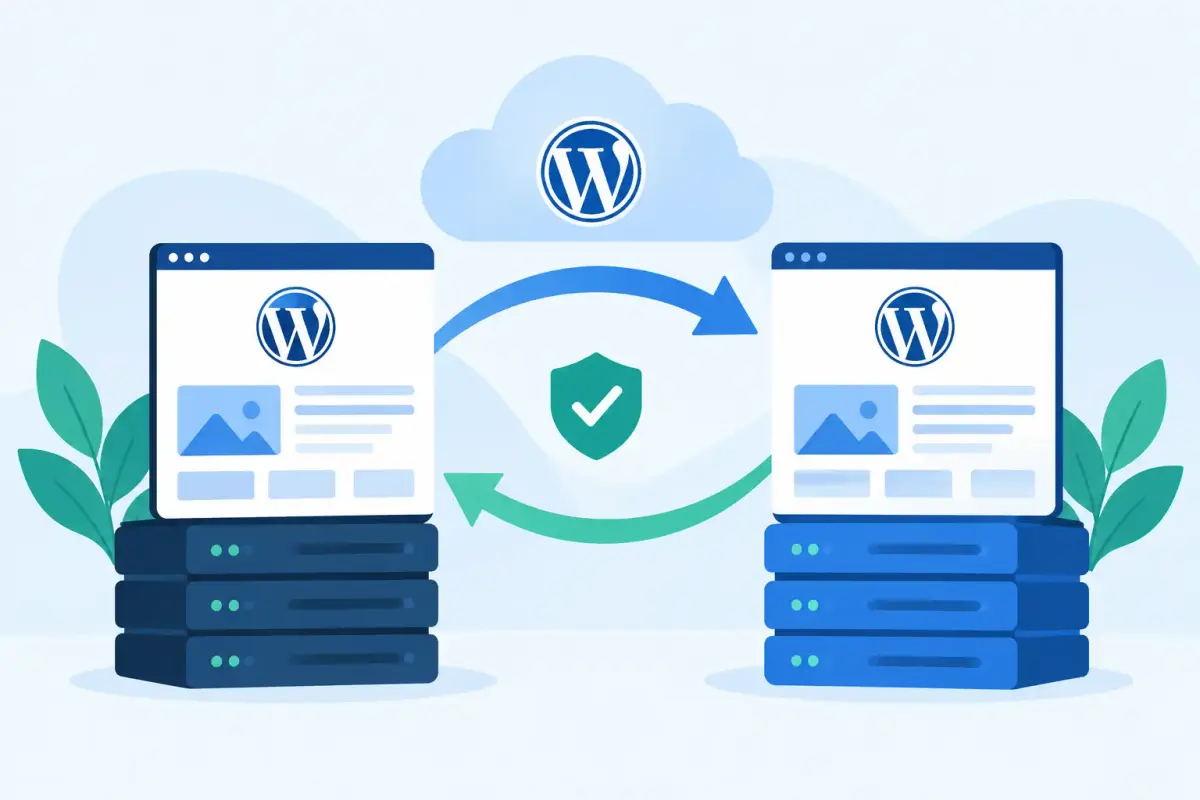
A WordPress migration can fail in ways visitors notice immediately: a broken checkout, a missing contact form submission, an SSL warning, or a page that suddenly loads from an old server. The goal to migrate WordPress without downtime is not simply moving files. It is running the old and new environments in a controlled sequence so the live site stays available while you test the replacement.
For a brochure website, the process is usually straightforward. For a store, membership site, booking platform, or busy agency client site, the final cutover needs more care because the database changes every time a customer registers, places an order, or submits a form.
What a no-downtime WordPress migration really requires
A no-downtime migration means visitors can continue reaching a working version of your website while the move is in progress. It does not mean nothing changes behind the scenes. You will still copy WordPress files, export and import the database, update configuration settings, install an SSL certificate, and point DNS to the new server.
The key is separating preparation from cutover. Build and test the new site privately first. Only switch public traffic after the new environment is ready. Then keep the previous hosting active until you have confirmed that the new site is serving visitors correctly.
There is one important trade-off: a site with frequent database activity may need a short content freeze during the final synchronization. This is preferable to silently losing recent orders, comments, leads, or user changes. A planned five-minute pause for administrative changes is very different from an unplanned outage.
Prepare before you migrate WordPress without downtime
Start by recording what the current site depends on. Hosting access is only one piece of the setup. Confirm the active domain, DNS records, WordPress version, PHP version, plugins, theme, email routing, scheduled tasks, and any external services connected to forms, payments, analytics, or transactional email.
Create a complete backup that includes both files and the database. Download or store a copy independently from the existing server when possible. A host-level backup is useful, but your migration plan should not rely on a backup you have never checked. Confirm that the archive contains the `wp-content` directory, the WordPress database, and the configuration details needed to restore the site.
Lower the domain's DNS TTL before the migration window, ideally 24 to 48 hours ahead. A lower TTL tells DNS resolvers to refresh records more often after the IP address changes. It cannot force every network to update instantly, but it reduces the time visitors may be routed to the old server.
Use this preparation checklist before copying anything:
- Confirm access to the domain registrar or DNS manager.
- Back up WordPress files, database, and email-related DNS records.
- Check the destination server meets your PHP, database, storage, and memory requirements.
- Document all DNS records, not only the website's A record.
- Schedule the cutover during a lower-traffic period when possible.
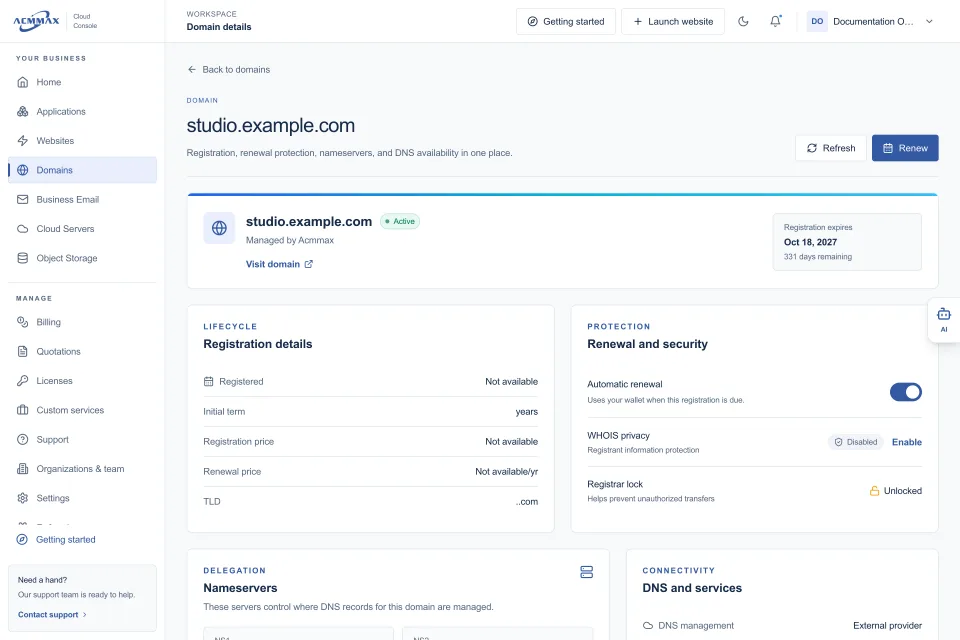
If your domain, WordPress hosting, backups, and DNS are managed in separate accounts, give yourself extra time. Centralized management in a platform such as ACMMAX can reduce account switching, but you still need to validate each service involved in the move.
Build the new environment before public traffic arrives
Set up the destination hosting first. Match the source site's PHP version where practical, especially if the site uses older plugins or custom code. Moving to a newer PHP version can be worthwhile, but combining a server migration with a major runtime upgrade makes troubleshooting harder. Handle one major variable at a time unless you have tested the full combination.
Copy the WordPress files to the new hosting account and import a current copy of the database. Update the database name, username, password, and host in `wp-config.php`. If the destination uses a different domain temporarily, update the WordPress Address and Site Address carefully or use a controlled search-and-replace process for URLs.
Do not run a simple database-wide replacement without understanding serialized data. WordPress plugins often store settings in formats that can break if a URL is replaced with the wrong tool. Use a WordPress-aware migration method, a reliable migration plugin, or a database tool that supports serialized values.
Keep the destination site out of search results while testing. Password protection, IP restrictions, or a staging environment can work well. Avoid leaving a public duplicate online, particularly if both versions can send emails, process payments, or be indexed by search engines.
Test the destination using a temporary address or hosts file
Before changing DNS, view the new server directly. Your host may provide a temporary URL, preview domain, or an IP-based testing method. A hosts file override is another option for technical users because it lets your computer load the production domain from the new server while everyone else continues using the old one.
Test the site as a customer would, not only as an administrator. Open key pages in a private browser window, submit a contact form, test navigation, review mobile layouts, and confirm images, downloads, redirects, and search work as expected. For ecommerce sites, test the cart, checkout, taxes, shipping, payment gateway connection, order emails, and account pages with a safe test transaction.
Also review the WordPress admin area. Confirm scheduled backups, cron jobs, caching, security tools, and SMTP or transactional email settings are operating on the new host. Many migrations look successful until the first scheduled task or outgoing message fails.
Make the final database sync and switch DNS
The files usually change less often than the database. That is why the final stage focuses on capturing the newest database updates from the live site.
For a low-traffic informational site, you may be able to take a final database export, import it to the new server, perform a quick validation, and update DNS. For a busy site, temporarily pause activities that write data. This might mean putting checkout into maintenance mode, disabling new registrations briefly, or asking editors not to publish while the final export is taken.
Use this sequence for the cutover:
- Make the final database export from the old live site.
- Import it to the new server and clear application and server caches.
- Confirm the new site loads correctly through your private test method.
- Update the domain's A or AAAA record to the new server address.
- Keep the old hosting account active while DNS changes take effect.
Do not remove the old environment immediately. Some visitors may still reach it while DNS caches expire. Keeping it online prevents those users from encountering an error page. If the site receives form submissions or orders during this overlap, monitor both environments and reconcile activity if needed.
Protect email, SSL, and DNS records during the move
Website traffic is only one part of DNS. Replacing a full DNS zone with a default configuration can interrupt business email, email authentication, verification services, subdomains, or third-party tools.
Before updating the web record, compare the current zone against the new one. Preserve MX records for mailbox delivery and retain SPF, DKIM, and DMARC records where applicable. Keep any CNAME, TXT, or verification records used by email platforms, payment tools, or marketing services.
Install and validate the SSL certificate on the new host before the DNS change. If the certificate is issued only after DNS points to the new server, there may be a brief browser warning. Confirm that HTTP redirects to HTTPS, the correct certificate is served for both the root domain and `www` version when used, and there is no mixed-content warning on important pages.
Verify the migration and keep a rollback path
After DNS has been updated, test from more than one network if possible. Mobile data can provide a quick second view because it may use different DNS caches than your office connection. Check the site homepage, several internal pages, WordPress login, forms, email delivery, and any revenue-critical workflow.
Monitor server error logs and WordPress errors during the first day. A plugin conflict, missing PHP extension, or file permission issue may only appear when a less common page is visited. Review backups on the new environment and make sure they are scheduled before you consider the project complete.
A rollback plan should be simple: retain the old hosting, preserve its DNS details, and avoid making irreversible changes during the first validation period. If a serious issue appears, you can point DNS back to the previous server while you investigate. The longer you wait after the cutover, the more carefully you must account for new database changes before rolling back.
A successful migration is measured by more than a page that loads. When your site, email records, security certificate, backups, and daily operations are all accounted for, you can move hosting with confidence and keep your business available when customers need it.